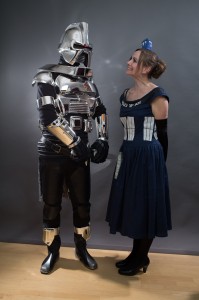
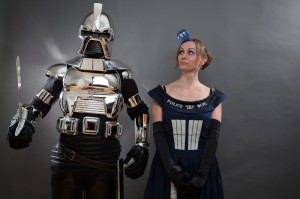
Making of …
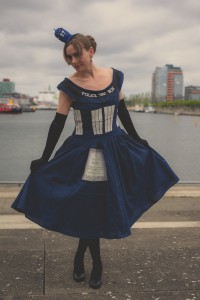
The making of this dress is a story with lots of setbacks… but what really counts in the end it the final result ;-)
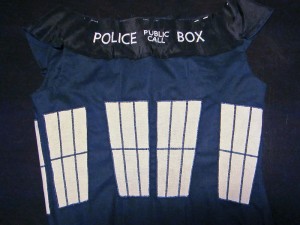
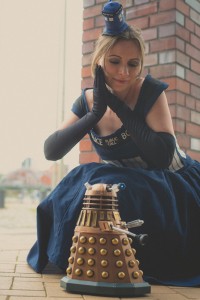
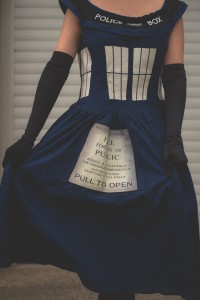
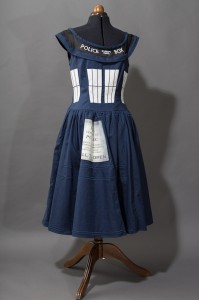
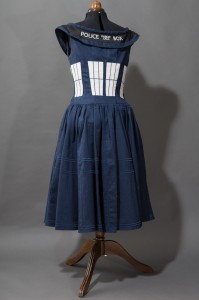
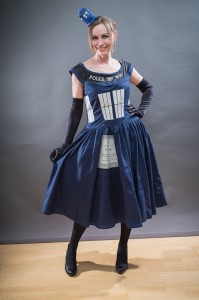
The pattern is from Vogue, the number V1094. I changed the skirt pieces so that there are four “sides”, that is one panel in the middle at the front and two panels half as wide at the sides and the same at the back. It was easier this way to simulate the four sides of the Tardis. In addition I changed the style of the neckline a little bit to show more of the writing.
The first big problem was to fit the windows onto the bodice. Figure fitting issues were no longer possible after that. It would have been wise to make a mock-up first…
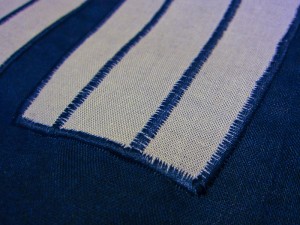
The windows are fused on with Vliesofix and then embroidered with machine stitching.
I also embroiderd the skirt panels with double edged rounded trapezes to simulate the structure of the side walls.
This whole stitchery for the skirt and the window structures cost me the sum of five spools of thread!
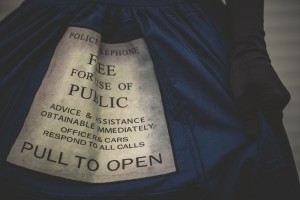
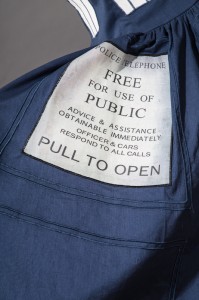
The next problem was the sign on the skirt… I was lucky to have help from Van Flex (Thanks a lot for this!).
He made the sign so close to the original as possible and gave it the trapeze form with the roundet top and bottom. Then we printed it onto the fabric. After that I fused it on with Vliesofix and stitched around it.
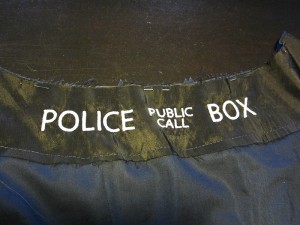
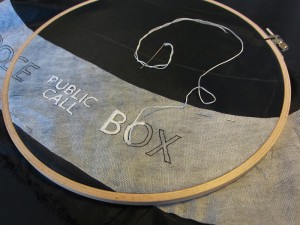
The biggest problem however was the writing at the neckline… I would have liked it to print this as well, but printing white on black and finding the right curve for the writing was not that easy.
So there was the decision: Stitching it by hand!
I traced the TARDIS-writing with some effort and then found out the right curve for the front and back with the help of the pattern pieces. Then I transfered it onto embroidery backing and began to stitch… for two days…
After that I put the finished embroidery in water to dissolve the embroidery backing and…. the pen I used for the markings lost its colour and made my pretty white yarn all over violet :-(
After a little rage attack I bought colour run remover and put the pieces into it over night (such a luck that my black fabric was all synthetic) until the writing was all pretty white again.
Another point:
I lost a few kilos in the long time making this dress, so the fitting is a bit loose (and because of the windows I cannot change the size afterwards).
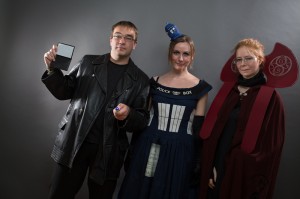
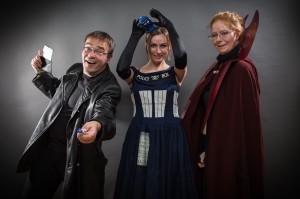
After so many setbacks: The dress is completed nevertheless and maybe I am proud of it because of these difficulties… it was definitely not an easy project ;-)
Completed: 2014
